Wedding stationery :: Rachel & Calum
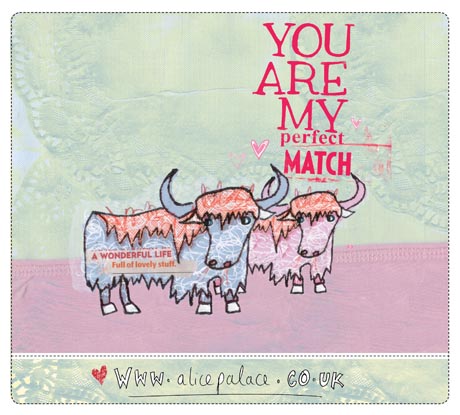
Rachel and Calum had the wonderful life wedding design… this has a nice, relaxed and fun feel to it…‘the ceremony starts at 2pm, here comes the bride! after that there will be bubbly and yummy cupcakes, then it’s time for dinner, speeches and dancing!’
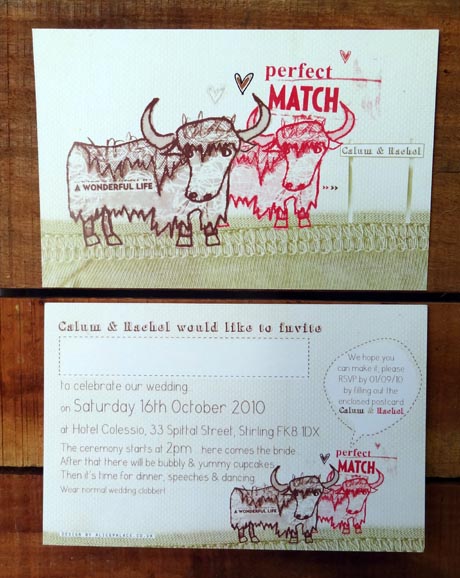
[flat day invite, front & back]
‘Invites arrived today, they are fab! Thanks again…’ Rachel, 05/02/10
The rsvp postcard can be ready stamped so your guests can easily reply with vital wedding info - such as attendance, dietary requirements, songs they like and lovely comments for the bride and groom to be (which make nice memories when looking back at them in years to come)!
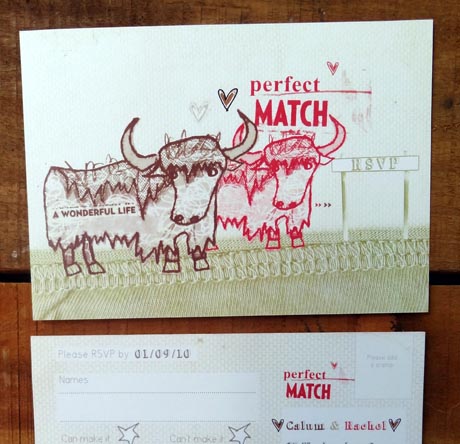
[flat rsvp, front & back]
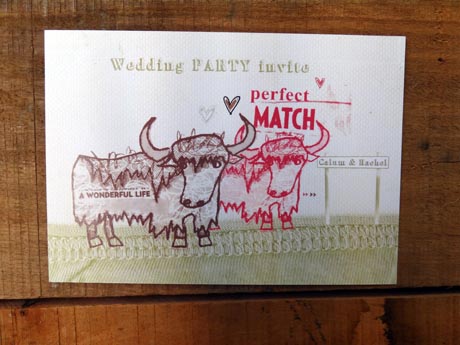
[flat evening invite, front]
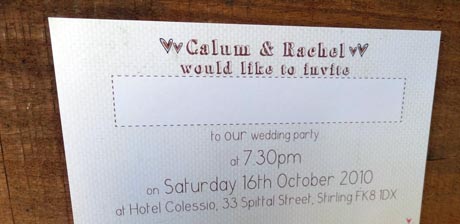
[flat evening invite, back]
Some wedding stationery tips include…
There are so many types of weddings and your invitations should show something about the personalities of you both, as well as portraying a little of the wedding theme itself.
- - have a think about your wedding day = is your wedding a romantic affair, chic, funky, formal, relaxed, vintage, city, country, church, civil, waterfront, garden, hotel, eco friendly, spring, summer, autumn, winter, christmas, abroad, personal, fun, large affair, simple event….??


Things to think of when ordering your wedding invitations:
- be careful not to make the common mistake of ordering for each individual guest (if some of these guests will be arriving as a couple or family). And don’t forget to send invites to the wedding party!
![]()
- order a few additional cards on top of your required number, this allows for any mistakes that may happen when writing the invites and also for the extra people who you may have forgotten to add to your original list. And you’ll probably want to keep one as a reminder of the day!
![]()
- plan in time for stationery to be designed and printed and posted out to you. And then allow time for writing/using stamps to add your guests names to your wedding invitations, and addressing the envelopes (allowing more time if you have a calligrapher, or a great friend with lovely handwriting doing handwritten work). If you have a lot of invitations to be handwritten/stamped, you can take the help of your family and friends, and have a fun time whilst doing it!
![]()
- your invites should be posted at least two to three months in advance of your BIG day. Allow your guests time to receive your invite, plan for it and accept it. Plan extra time for guests living further afield to receive theirs and if possible, add extra time for any postal strikes!
![]()
- think about other wedding stationery items you may need, which can be created using the same theme of your wedding invite design = RSVP postcards, Thank you cards & envelopes, Place cards, Table number cards, Menu, Order of Service….etc etc etc
![]()
- you’ll need to supply the wording for your invitations, and you may have to give some thought to family circumstances and relationships which can have a bearing on what needs to be written on your invites. You’ll probably need to know include the following info…Your wedding date, time and place, Wedding reception venue and timings, Parent’s names / Name of hosts, Full names of the bride and groom (sometimes including middle names).
![]()
- it’s always worth while spending time carefully proof reading your invites. Have a friend give them a look over to check the wording too for anything you may have missed!
![]()
- before you seal the envelope, don’t forget to include your RSVP cards at the same time! And any other enclosures such as extra information cards, gift list info, directions, maps…
(in our excitement, Mark and I forgot to put rsvp cards in with about half of our invites!!)
![]()
Choosing and designing your wedding stationery should be fun! Once you have your theme, your guest list, somewhere to get married, and a decision about a design…you can watch your wedding stationery come to life!
And here’s today’s image for the love 365 project…